You have drawn a logo yourself (or you already have the logo, but it is not yet digital). Now you want to digitize the logo. How does that work? Here you’ll find the answer.
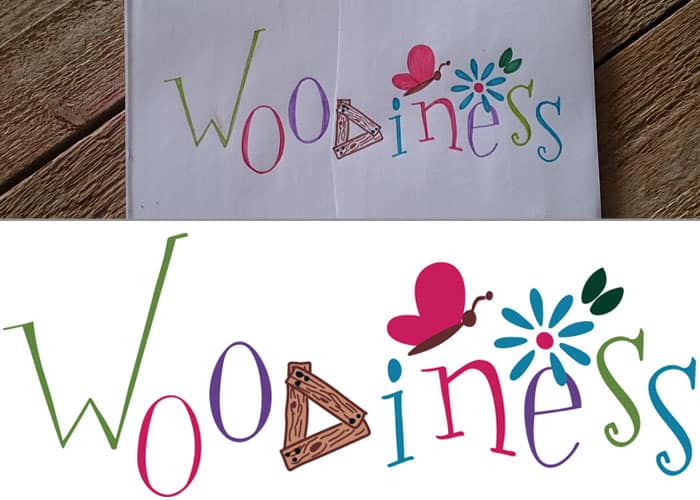
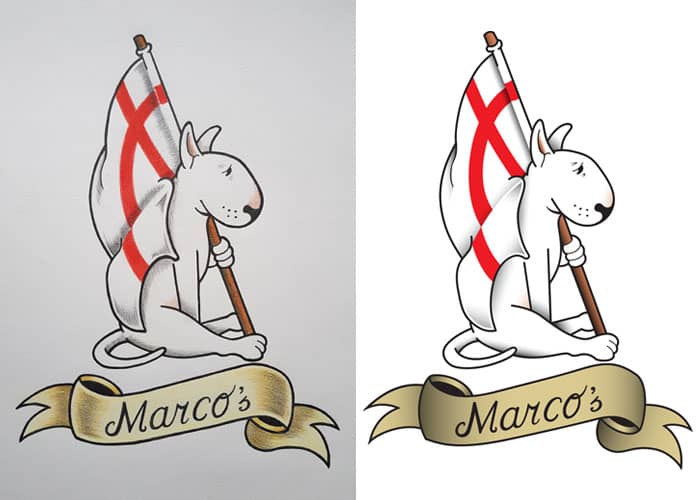
Photo of the drawn logo (left) – Digitized by ViaVector (right)
Digitizing your own drawn logo
Step 1: Take a picture or scan of the logo
Important with a photo:
- Take the photo straight from above.
Important with a scan:
- Set the DPI value of the scanner as high as possible. This should be at least 300 DPI.
Step 2: Making your own logo digital
The best way to digitize a logo yourself is to convert it to a vector file. This is a digital file which can be enlarged and reduced without loss of sharpness.
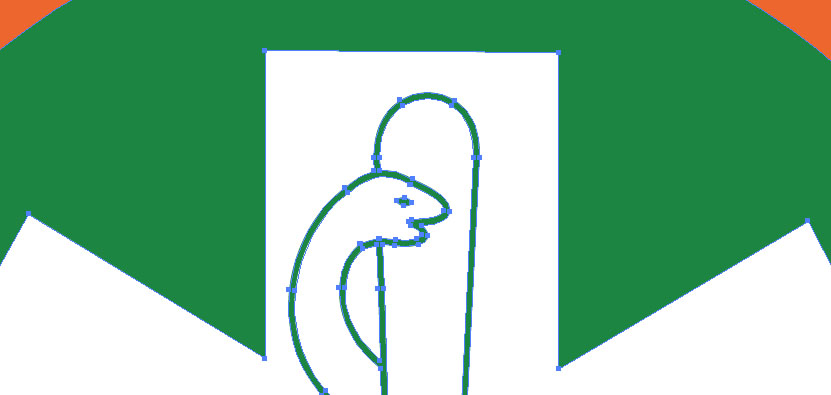
To digitize your own logo, it is best to use Adobe Illustrator. Purchase the program and open the logo. Then, trace the logo by hand. This means tracing each shape in the logo and filling it with a color.

Pros
- The result is excellent (we also use Illustrator).
- You can customize the logo.
- You can save the logo in the three most commonly used vector file formats: AI, EPS, and PDF.
Cons
- It takes (a lot of) time to recreate a logo.
- You must first learn to work with Illustrator before you can digitize a logo.
- Adobe Illustrator costs money.
Have a signed logo digitized
We have digitized the two examples in this article. For digitizing drawn logos and family crests, we have created the “Special” price package.

Have your logo digitized for a fixed price
Is your logo already designed? Just not yet digitized (for example, only on letterhead)? Then choose our “Basic” price package.


